
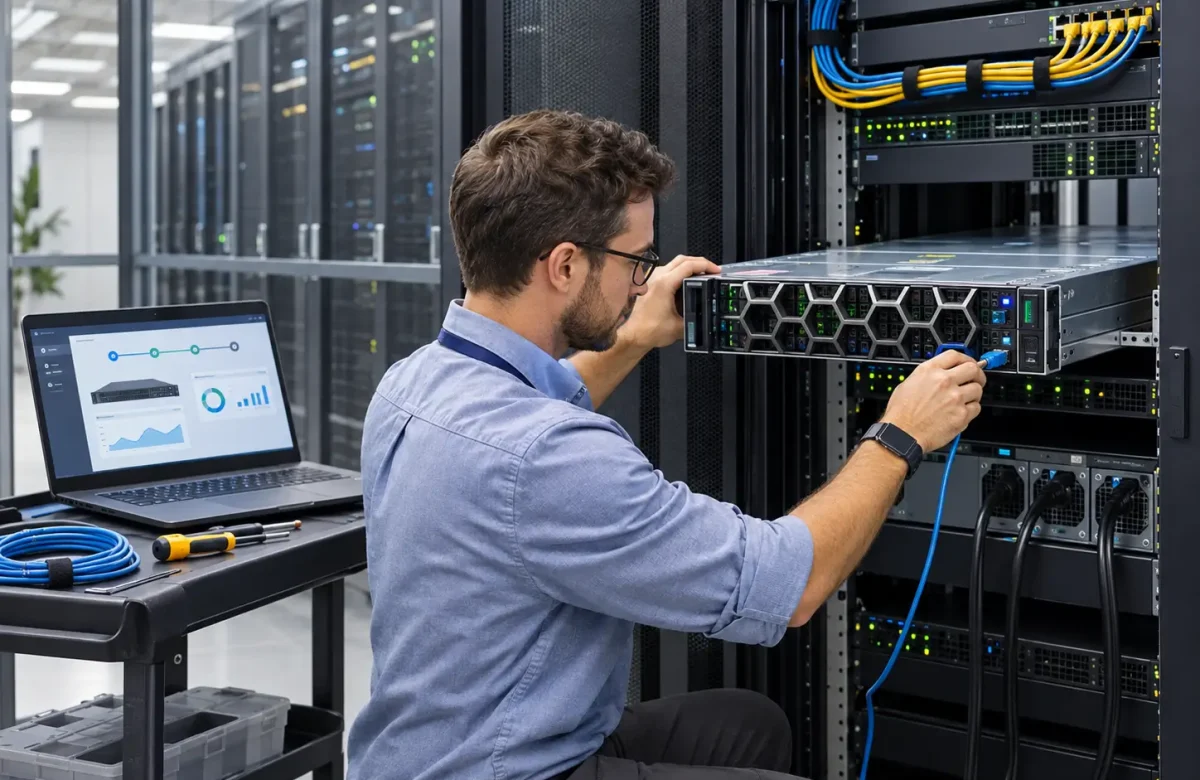
How to Setup a Dell PowerEdge Server: Step-by-Step Guide
A reliable server infrastructure is essential for businesses that depend on secure data storage, business applications, virtualization, and uninterrupted access to critical information. Choosing the right hardware is only the first step. Proper installation and configuration determine how effectively the server supports daily operations and future business growth.
A Dell PowerEdge Server provides an enterprise computing platform designed to support demanding workloads, including database management, virtualization, file sharing, and business applications. However, organizations must configure its hardware, storage, network connections, operating system, and security settings according to their operational requirements.
For businesses in Egypt planning to deploy or upgrade their IT infrastructure, understanding the installation process can help prevent configuration problems and unnecessary downtime.
This guide explains how to set up a Dell PowerEdge Server, configure essential management features, troubleshoot common issues, and maintain a secure server environment. It also explores how working with an experienced technology provider such as Arab Computers can help businesses plan and implement suitable Dell infrastructure solutions.
What Is a Dell PowerEdge Server?
Dell PowerEdge is Dell’s line of enterprise servers, used for databases, virtualization, file services, and backup. The model letter signals the form factor: R for rack, T for tower, and M for modular. Four components matter most during setup:
– iDRAC: remote management that works even when the operating system is not running
– Lifecycle Controller: a pre-boot toolset for configuration, updates, diagnostics, and OS deployment
– System Setup (BIOS/UEFI): boot mode, processor, memory, and security settings
– PERC RAID controller: manages drives and virtual disks
What Do You Need Before Setting Up a Dell PowerEdge Server?
– Rack space, a rail kit, and airflow clearance
– Power from two separate circuits or PDUs, plus a UPS
– Switch ports for the data NICs and the dedicated iDRAC port
– A monitor and keyboard, or a KVM, for the first boot
– An IP plan with static addresses for iDRAC, the server, and DNS
– An OS installation source and a valid license
– A storage plan covering drive count, RAID level, and hot spares
How to Set Up a Dell PowerEdge Server Step by Step
Setting up a Dell PowerEdge Server involves several stages, from physical installation to operating system deployment and security configuration.
The exact procedures and available features vary by server generation and model, so administrators should consult the relevant Dell documentation before making hardware or firmware changes.
Unbox and Install the Dell PowerEdge Server
Check the contents against your order, then fit the rails using the instructions for your kit, since designs vary by model. Lift the chassis into the cabinet with a helper, and keep the vents clear. Record the service tag, which you will need for warranty and support requests.
Connect Power, Network, and Peripheral Devices
Connect each power supply to a separate circuit or PDU. Redundant supplies only protect you when they draw from different power paths. Plug the data ports into your switch, and the dedicated iDRAC port (usually marked with a wrench icon) into the management network. For the cabling design behind those connections, see [structured cabling vs conventional wiring](https://www.arab-computers.com/structured-cabling-vs-conventional-wiring/).
Configure BIOS and Boot Settings
Press F2 during startup to open System Setup. Confirm that detected memory and processors match your hardware, set boot mode to UEFI, and enable Secure Boot if your operating system supports it. Then set a system password and a setup password to control BIOS changes.
Set Up iDRAC for Remote Server Management
Assign the iDRAC port a static address, or use DHCP if your network reserves addresses. Log in with the initial credentials from the model documentation or the information tag, and change the password right away. The iDRAC section below covers the rest of the configuration.
Configure Dell Lifecycle Controller
Press F10 during startup to enter Lifecycle Controller. Run the hardware inventory and look for missing or unrecognized components. Once configuration is complete, export a server configuration profile and store it securely. It will speed up any future rebuild.
Configure RAID and Storage
RAID 1 mirrors two drives and suits operating system volumes. RAID 5 and RAID 6 add parity for more usable capacity, and RAID 10 suits write-heavy workloads. Create virtual disks through the PERC utility, Lifecycle Controller, or iDRAC, and let initialization finish before installing the OS. RAID guards against drive failure, but it is not a backup.
Update BIOS, Firmware, and Drivers
Update iDRAC, BIOS, the RAID controller, and network adapters before the server enters production. Dell Repository Manager helps you build a consistent update bundle, and Lifecycle Controller can apply the firmware. Follow the order in the release notes, and check Dell’s support site for the versions recommended for your model and operating system.
Install Windows Server or Linux
Mount the installation ISO through iDRAC virtual media or a bootable USB drive, and set it as the first boot device. If no disks appear, load the RAID driver from a USB drive. Make sure the partition style matches your boot mode, then install the latest drivers after first boot.
Configure Network Settings and Server Security
Assign static addresses to production NICs, and set the hostname, DNS servers, and default gateway. Synchronize the clock with a trusted time source, and create named administrator accounts instead of sharing one login.
Test and Verify Dell PowerEdge Server Performance
Run Lifecycle Controller’s hardware diagnostics to catch memory, drive, or fan faults before go-live. Confirm that the OS sees all memory and CPU cores, then test disk and network throughput. Record the final IP addresses, RAID layout, and firmware versions.
How to Configure iDRAC on a Dell PowerEdge Server
iDRAC settings determine how securely you can manage the server remotely. Prioritize these:
– Accounts: individual users with limited roles, not a shared root login
– Directory login: Active Directory or LDAP, where your environment supports it
– Certificates: an internal certificate, so browsers stop showing warnings
– Alerts: SNMP traps or email notifications for hardware failures
– Virtual console and media: remote console access and mounted ISO images for installs
– NIC mode: dedicated or shared, based on your cabling. Shared mode sends iDRAC traffic through a production NIC.
Common Dell PowerEdge Server Setup Problems and How to Fix Them
Most setup failures trace back to boot settings, storage configuration, or addressing.
Dell PowerEdge Server Not Booting
– Check the boot order in System Setup, since a network boot or an empty device may be tried first.
– Match boot mode to the installed OS. An OS installed in legacy mode won’t start in UEFI mode, and the reverse is also true.
– Confirm the virtual disk shows Optimal. A degraded or failed disk can stop the boot.
iDRAC Connection Issues
– Confirm the cable is in the dedicated port, or that shared mode is set correctly.
– Check the IP address, subnet, gateway, and VLAN. A duplicate address on the management network causes intermittent access.
– Allow HTTPS (port 443) from your admin workstation through any firewall.
– If the settings are unknown or corrupted, reset iDRAC as described in the FAQ below.
RAID or Storage Drives Not Detected
– Reseat the drive and check its status light.
– If a drive shows as foreign, import the configuration instead of clearing it. Clearing erases data, so back up first.
– Confirm that the controller and backplane support the installed drive models.
Operating System Installation Errors
– “No drives found”: load the storage driver during setup.
– “Cannot install to this disk”: the partition style and boot mode don’t match. Align them before creating partitions.
– Installer fails to read the media: verify the ISO checksum and remount it through iDRAC virtual media.
Best Practices for Dell PowerEdge Server Security and Maintenance
– Keep management traffic on an isolated VLAN, and limit iDRAC access to administrator IP ranges.
– Replace default passwords on iDRAC and BIOS, and store them in a managed password vault.
– Forward iDRAC alerts to your monitoring system so failures are reported without anyone logging in.
– Review drive health alerts, and keep a spare drive on hand if downtime would be costly.
– Document every change made after go-live, so the next technician knows what was altered.
– Test patches in a non-production environment before applying them.
– Track warranty dates and Dell’s support lifecycle for each model, since older hardware eventually reaches end of support.
Why Choose Arab Computers for Dell PowerEdge Server Solutions?
Server decisions affect uptime long after installation, so the provider you choose matters. Evaluate candidates on:
– Experience: a record of comparable deployments
– Expertise: engineers who understand iDRAC, RAID, and OS integration
– Communication: clear scope, timelines, and a named contact
– Technology: hardware matched to your workloads, not just the lowest price
– Customization: configurations that fit your network, power, and growth plans
– Reliability: documented handover and repeatable configurations
– Customer support: a defined process for issues after go-live
Arab Computers is an IT solutions provider founded in 1986 and based in Alexandria, Egypt. Business directory profiles list its services as network infrastructure, data center solutions, IT security, data backup, virtualization, telephony, communication and collaboration tools, printing, and surveillance and access control. [Confirm before publishing: Arab Computers supplies, installs, and supports Dell PowerEdge servers.] Organizations planning a deployment can contact the team to discuss their requirements.
FAQ:
How Do I Access the BIOS on a Dell PowerEdge Server?
Restart the server and press F2 as the boot screen appears to open System Setup. For remote access, open the iDRAC virtual console, restart the host, and press F2 at the same point.
How Do I Install Windows Server on a Dell PowerEdge Server?
Mount the Windows Server ISO through iDRAC virtual media or a bootable USB drive, and set it as the first boot device. Load the RAID driver if no disks appear, select the virtual disk, and complete the setup wizard. Install updates after the first boot.
How Do I Reset or Reconfigure iDRAC on a Dell PowerEdge Server?
Change network and user settings from the iDRAC settings in System Setup or the iDRAC web interface. To restore defaults, use the reset option in iDRAC settings or the racadm tool, and check your model’s documentation first. If you still have access, export the configuration beforehand.
